Introduction
On the top of your CAD application you will find the Virto.CAD ribbon
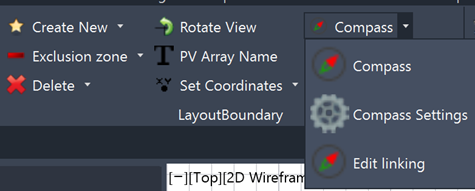
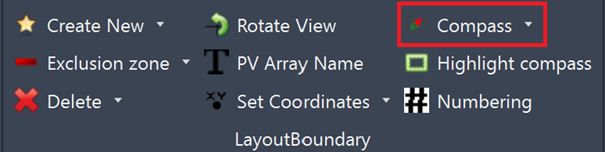
Click on this and navigate to the "Layout Boundary" section, here you will find the "compass" option.
From the dropdown menu choose the "compass settings" option.
This will open a popup window as shown on the right.
In this window there are 2 settings: "compass type" and "rotation".
For "compass type" you have 3 choices:
- Clockwise: this compass starts with 0 degrees in the North and follows around for 360 degrees.
- Non-clockwise 1: this compass starts with 0 degrees in the North and continuous with +180 to the East and -180 in the West.
- Non-clockwise 2: this compass starts with 0 degrees in the southand continuous with -180 to the East and +180 to the West. (this compass style is mostly used in Europe and Asia)
- Rotate to bottom.
- Rotate to top.
This selection will allow you to choose which way you rotate your project when rotating with a compass.
Setting up a compass
To create a compass, press the "compass" option in the layout boundary section.
After selecting the "compass" option you will need to draw a line in the direction you want the modules to face.
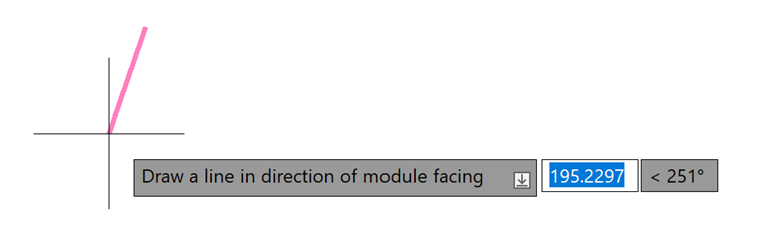
After choosing the compass direction you will be able to place it.
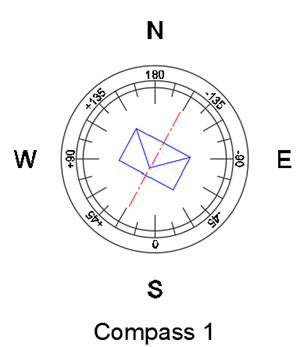
If you are happy with the configuration of your compass, you can choose to rotate your project to the angle of the compass. To do this you need to select the rotate view function in the layout boundary section.
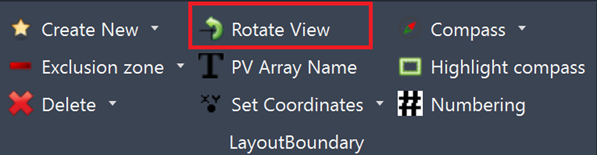
After selecting "rotate view", simply click on the compass and your project will be rotated to make the module face vertical. This acts like the toggle view option but the XY coordinates remain straight.


If you select the compass an arrow will appear, click on this to get a dropdown menu in which you can select which type of PV panels you will use. This will indicate which orientation those panels will have.
