By using “Layers Configuration” you can change Virto Solar’s default/typical layers to match the custom layers of your company.
For accessing Layers Configuration:
- Navigate to the Virto Solar ribbon:

- In the Manage section, select "Layers Config":

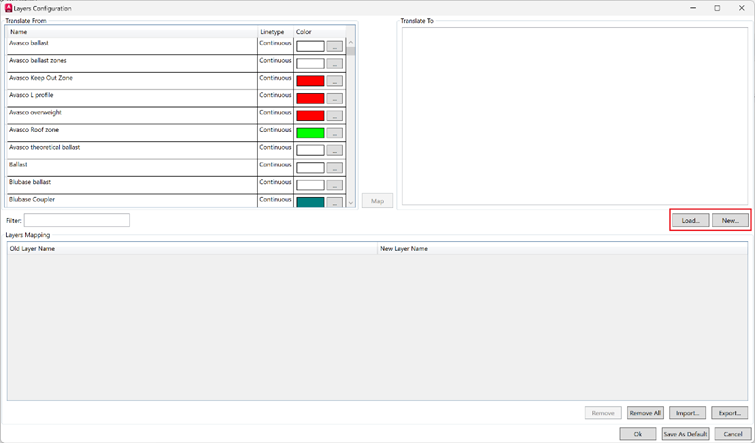
- A pop-up window will open.
- Оn the left side of the pop-up window, you can select the layers you wish to configure.
-
On the right side of this pop-up window, you can choose to add the required layers by loading the DWG file which will load its layers. You can choose to create new layers here as well.
-
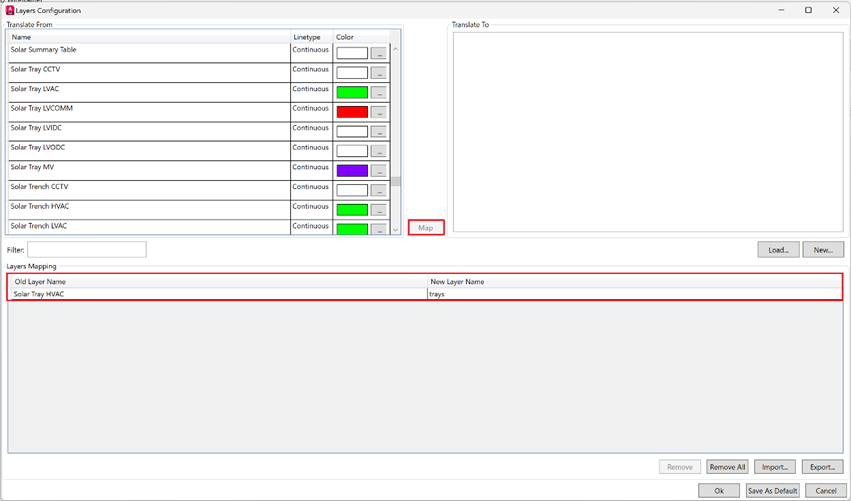
When you have loaded or created all the necessary layers you can start mapping them.To do this:
-
Select the layer you want to change on the left
-
Select the layer you want to configure it to on the right.
-
Now press "map" to finalize
-
The results will be visible in the bottom section "Layer Mapping" of the window.
-
Remove/Import/Export/Share
You can remove some or all the mapping settings you’ve done – click on "Remove" after selecting the ones you want to delete or "Remove All" to clear mapping.
If you are happy with your layer configuration, press "save as default" to apply this for all future projects.
There is also and option to "Export/Import" settings to use layers configuration and share it within the company or between colleagues.

PDF tutorial