After you have created a layout boundary and other necessary objects or zones, we can start defining which racks we want to use in our project.
Select the “solar rack settings” option in the ground mount section. This will open a popup window with all the rack settings op the right.
In this popup you can design your own rack by creating a new one or by adding a clone of a certain rack and altering it’s properties.

When “Add rack” is selected a popup will appear where you can specify the name.

In the text and depth section you can add a comment to the rack name for reference. Now you can start setting the parameters for this rack.

The same method applies when using “Add clone of rack”.
(we advise to create racks with dimensions that fit perfectly to the amount of modules in a string or inverter. For example if you want to have a string of 24 modules we advise using racks of 12 or 24 modules)
Define parameters
When defining parameters of a rack, the first step is to select the module you want to use.
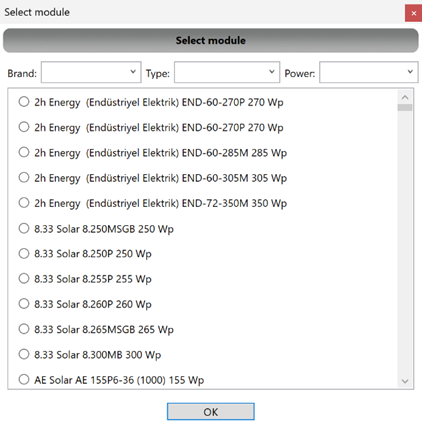
Press the ellipsis next to the module name (blue outline, see example) to open a popup, here you can select the available modules from our solar module database (for more information visit the solar module database support page).
You can filter by brand type and power to find the right module for your project. Now select the desired module and press ok.

Define rack
After selecting the module for your project you can start defining the rack, first select the rack type you want to use from the three options:
- South or North Facing
- East-West Facing
- Single-Axis Tracker
In the yellow outline (see example) you can see the length and depth of your rack, these values will change according to parameters you will enter below.
In the purple outline (see example) you can edit spacing between modules and in the brown (see example) one you can choose spacing between the rack and the modules.
In the green outline (see example) you can choose if you want to use landscape or portrait rotation for your panels, meaning a vertical or horizontal orientation.
In the bottom part, you can define the amount of modules in this rack by choosing how many modules are placed in a row and how many rows this rack will have (grey outline, see example).
In the black outline (see example) you can specify at which angle the modules will be placed on this rack. This is the angle between the modules and the horizon.
You can adjust the heights of this rack as well by changing the values in the orange outline (see example). Bottom side height is the height from ground level to the lowest point of your modules and top side height from ground level to the top of your modules.
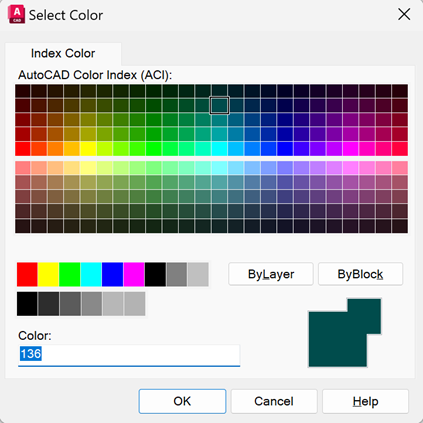
Finally you can set the rack color to your preference and press ok to save.
Video Tutorial Overview
- Add new racks to the database
- Create a new rack
- Choose existing racks, clone and remove racks
- Rack settings